Welcome to the world of secure cryptocurrency storage with Trezor! If you’ve just received your Trezor hardware wallet, setting it up is easy and straightforward. This guide will walk you through the key steps to get your device up and running securely.
Upon unboxing your Trezor hardware wallet, ensure that you have:
Ensure the packaging is sealed and intact to avoid any tampering.
To begin the setup, connect your Trezor device to your computer using the provided USB cable. Once connected, the device will power on, and you’ll see an initial setup screen on the device.
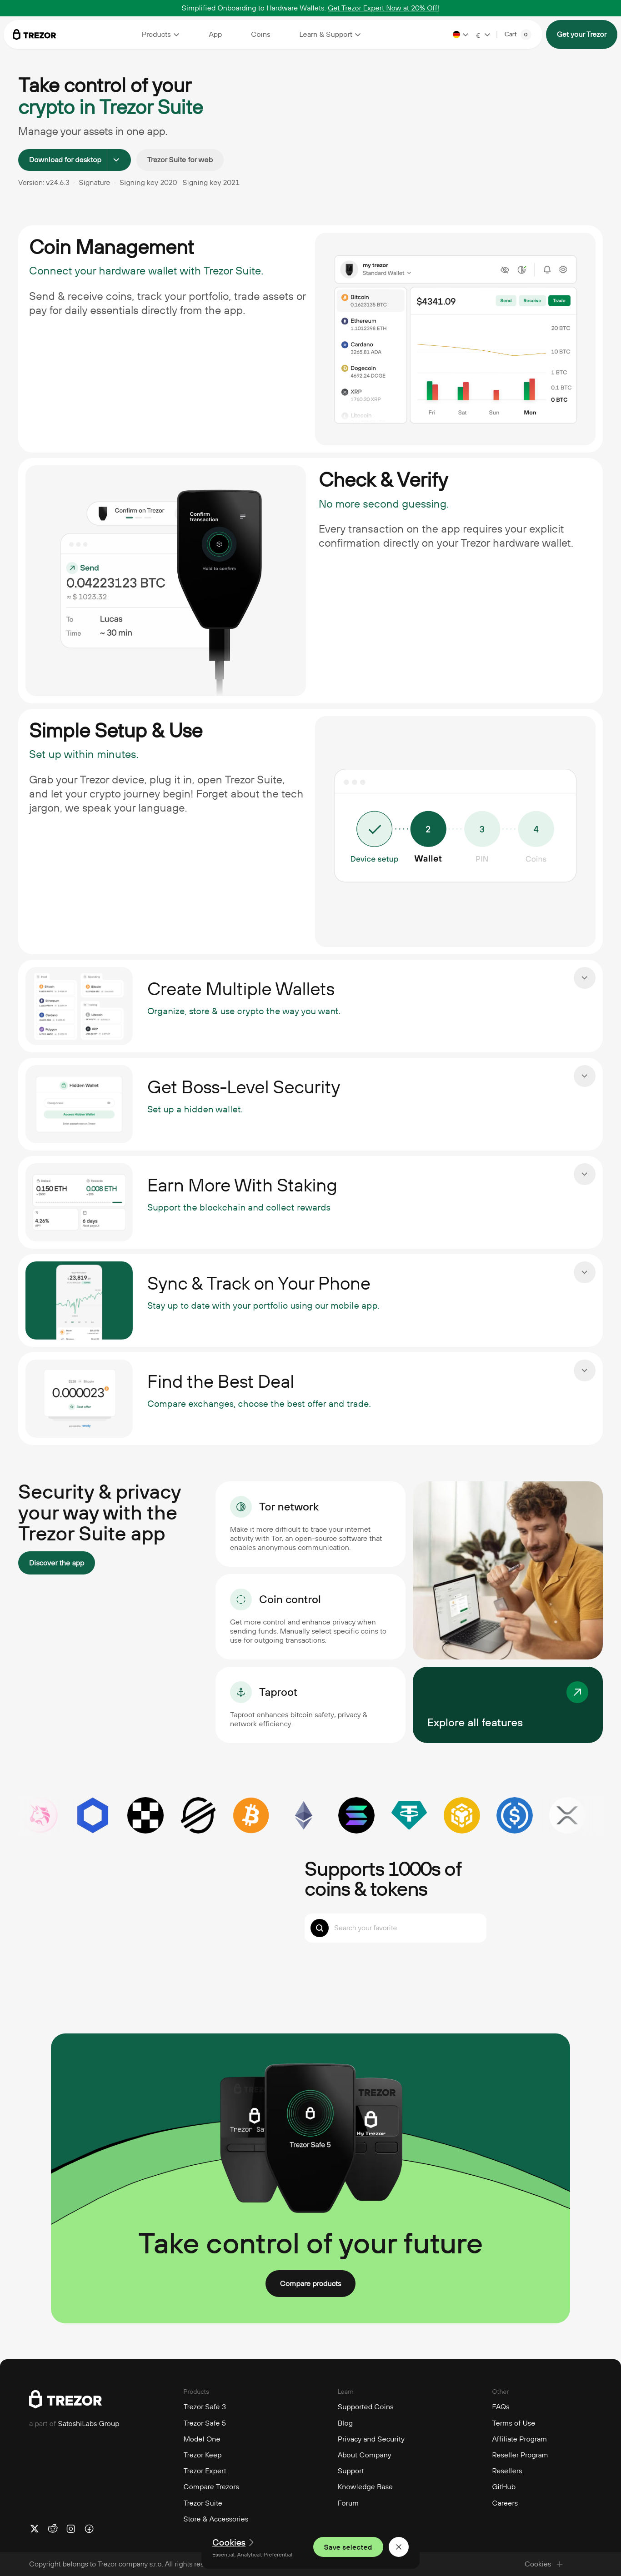
Next, you’ll need to install Trezor Suite, the official software to manage your Trezor device. Trezor Suite is available for Windows, macOS, and Linux, and you can download it directly from the official Trezor website. Alternatively, you can use the Trezor Web interface through your browser if you prefer not to install software.
Once installed, launch Trezor Suite to begin setting up your device.
The first step in setting up your device is to initialize it by creating a PIN and backing up your recovery seed:
Once your device is set up, you can start receiving cryptocurrencies. Simply navigate to the Receive tab in Trezor Suite to generate a wallet address. To send funds, go to the Send tab, enter the recipient’s address, and confirm the transaction on the Trezor device itself for added security.
Keep your recovery seed safe, update your firmware regularly, and never share your PIN or recovery seed with anyone. Trezor provides robust security, and with these precautions, your assets will be safe.